

Embed in web app
Introduction
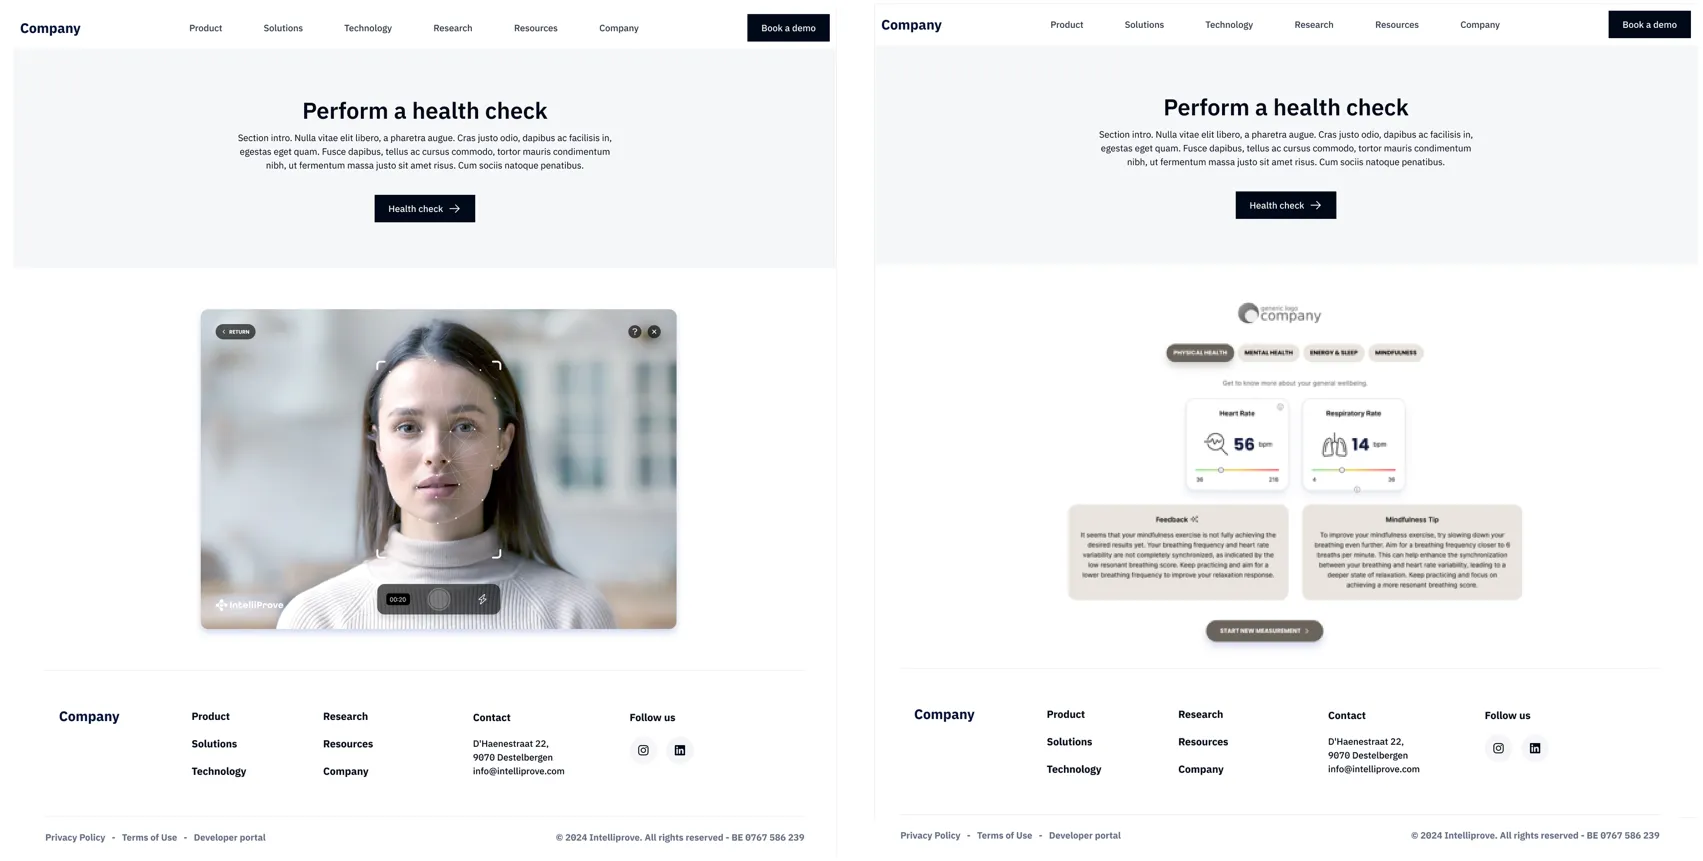
Section titled “Introduction”This page describes how to integrate our plug-ins within your website and get started performing health scans.
Prerequisites
Section titled “Prerequisites”Make sure you’re able to obtain a valid Plug-in URL, by following the explanation in our Plug-in URL page.
IFrame HTML Component
Section titled “IFrame HTML Component”Now that you’ve obtained a valid Plug-in URL, the web application can be embedded in your website by loading it into an iframe HTML component. An iframe or inline frame is used to embed another document within your current HTML document.
Add the plug-in as an iframe to your website as follows. Take into account the additional attributes, which are further described below.
<!DOCTYPE html><html lang="en">
<head>    <meta charset="UTF-8" />    <meta name="viewport" content="width=device-width, initial-scale=1.0" />    <title>IntelliProve Integration</title>    <style>        /* General iframe styling */        #intelliprove-iframe {            border: none; /* Removes the border */            overflow: hidden; /* Prevents scrolling */            width: 100%;            height: 850px; /* Adjust as required or use dynamic value */        }    </style></head>
<body>    <header>        <h1>Welcome to IntelliProve</h1>    </header>    <main>        <p>Explore IntelliProve Face Scan seamlessly integrated into your website.</p>        <!-- IntelliProve iframe -->        <iframe id="intelliprove-iframe"            src="https://plugin.intelliprove.com?action_token=..."            allow="camera https://plugin.intelliprove.com; fullscreen; autoplay">        </iframe>    </main></body>
</html>
For the Face Scan plug-in
Section titled “For the Face Scan plug-in”When to dismiss the Face Scan Plug-in iframe?
Section titled “When to dismiss the Face Scan Plug-in iframe?”When a user completes a Face Scan and clicks to continue, your platform should respond appropriately. For example, you could transition to a new page displaying the scan results or our Health Dashboard plug-in.
To determine when to proceed, listen for post messages sent by the Face Scan plug-in. For instance, the dismiss message signals that the Face Scan was completed.
Refer to our Message Events Documentation for more details about these events.
Camera Access
Section titled “Camera Access”Our Face Scan plug-in requires access to the device’s camera. Make sure the allow attribute is added to the iframe HTML tag.
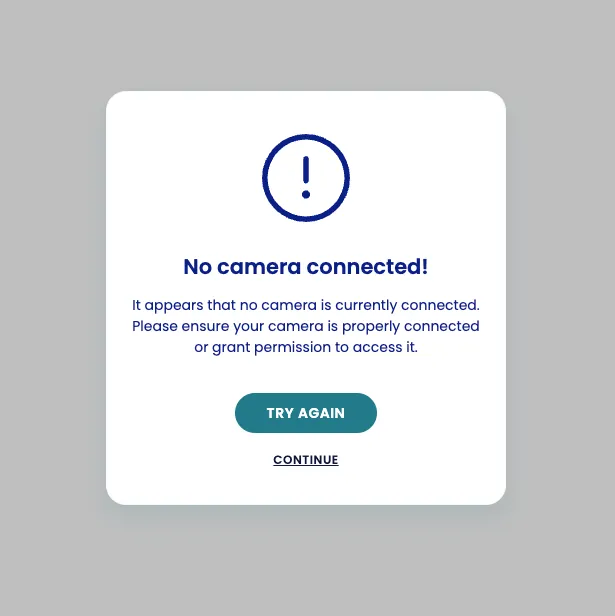
<iframe src="your_webplugin_url" allow="camera https://plugin.intelliprove.com; autoplay"></iframe>When the user first visits your website, the site will request permission to use the user’s camera. If the user doesn’t grant permission, a pop-up is shown indicating that a measurement cannot be started. The user is then presented with two options:
- They can click the
try againoption, in which case the permission is requested again through a modal. - They can click
continue. In this case, a message event of the type UserFinished is sent to you. You can use this to handle this situation as you desire. For example, you may redirect the user to an information page explaining how the health scan works, or to your homepage. For more information, refer to Message events.
Minimal Dimensions
Section titled “Minimal Dimensions”The IntelliProve plug-ins require minimial dimensions to be correctly displayed. Below are some recommendations to help you optimize these settings.
Minimal dimensions for Face Scan plug-in
Section titled “Minimal dimensions for Face Scan plug-in”Below a certain available height, there may be insufficient space available to display all content, which may result in a double scroll bar (scroll bar within the iframe). This can be undesirable for users. To prevent this, set the iframe’s screen height to 100% and make sure the containing element has enough height to display all the content in the iframe.
- Minimal Width: 330px
- Minimal Height: 480px
This will ensure that all text and action buttons are fully visible without triggering an extra scroll bar.
<iframe src="your_webplugin_url" scrolling="no" style="height: 100%;min-height: 500px;"></iframe>Minimal dimensions for Health Dashboard plug-in
Section titled “Minimal dimensions for Health Dashboard plug-in”The required height for the Health dashboard depends on the content inside it. Therefore, our Health Dashboard plug-in sends out an event to communicate the required height.
We recommend listening to this event to correctly set the height. Use the event’s iframeHeight property for this. Below is an example.
const iFrameElementId = "<your-iframe-id>";window.addEventListener('message', function (evt) { // check origin for security if (evt.origin.includes('intelliprove.com') || evt.origin.startsWith('http://localhost')) { if (evt.data && evt.data.iframeHeight) { const iframe = document.getElementById(iFrameElementId); iframe.style.height = `${evt.data.iframeHeight + 2}px`; // Add 2px to better support on Safari } }}This sets the height of the iframe element on your website to match the height needed for the content on the dashboard. It also ensures that the content can vary on the page per user (e.g., with or without recommendations), so the iframe is never too large or too small.
Optional CSS parameters
Section titled “Optional CSS parameters”To seamlessly embed the iframe in your HTML code, add additional styling parameters to the iframe HTML tag.
<iframe src="your_webplugin_url" scrolling="no" seamless="seamless" frameborder="0"></iframe>Next steps
Section titled “Next steps”1. Determine the intended use case and user flow and display the results
- Head to our Embed Health Insights page. This includes things like:
- Establishing communication between your own app and the Plug-in. This may be useful to track the user’s progress within the Plug-in, or to obtain the results in JSON format for further analysis or linking actions.
- Visualizing the results for your users.
2. Customisation
- To allow for seamless integration of the Plug-in in your website, matching your brand’s colours and fonts, please visit our UI Customization documentation.